Creative Process is a series where artists offer a little behind the scenes peek into their art-making. Toronto-based artist James Lee Chiahan recently shared a post on our Booooooom member Slack group taking us through his painting process, and I thought it would be great to share it here. He admits he’s still figuring out painting, but I found it helpful to see the way he’s working and how mistakes can lead to interesting techniques.
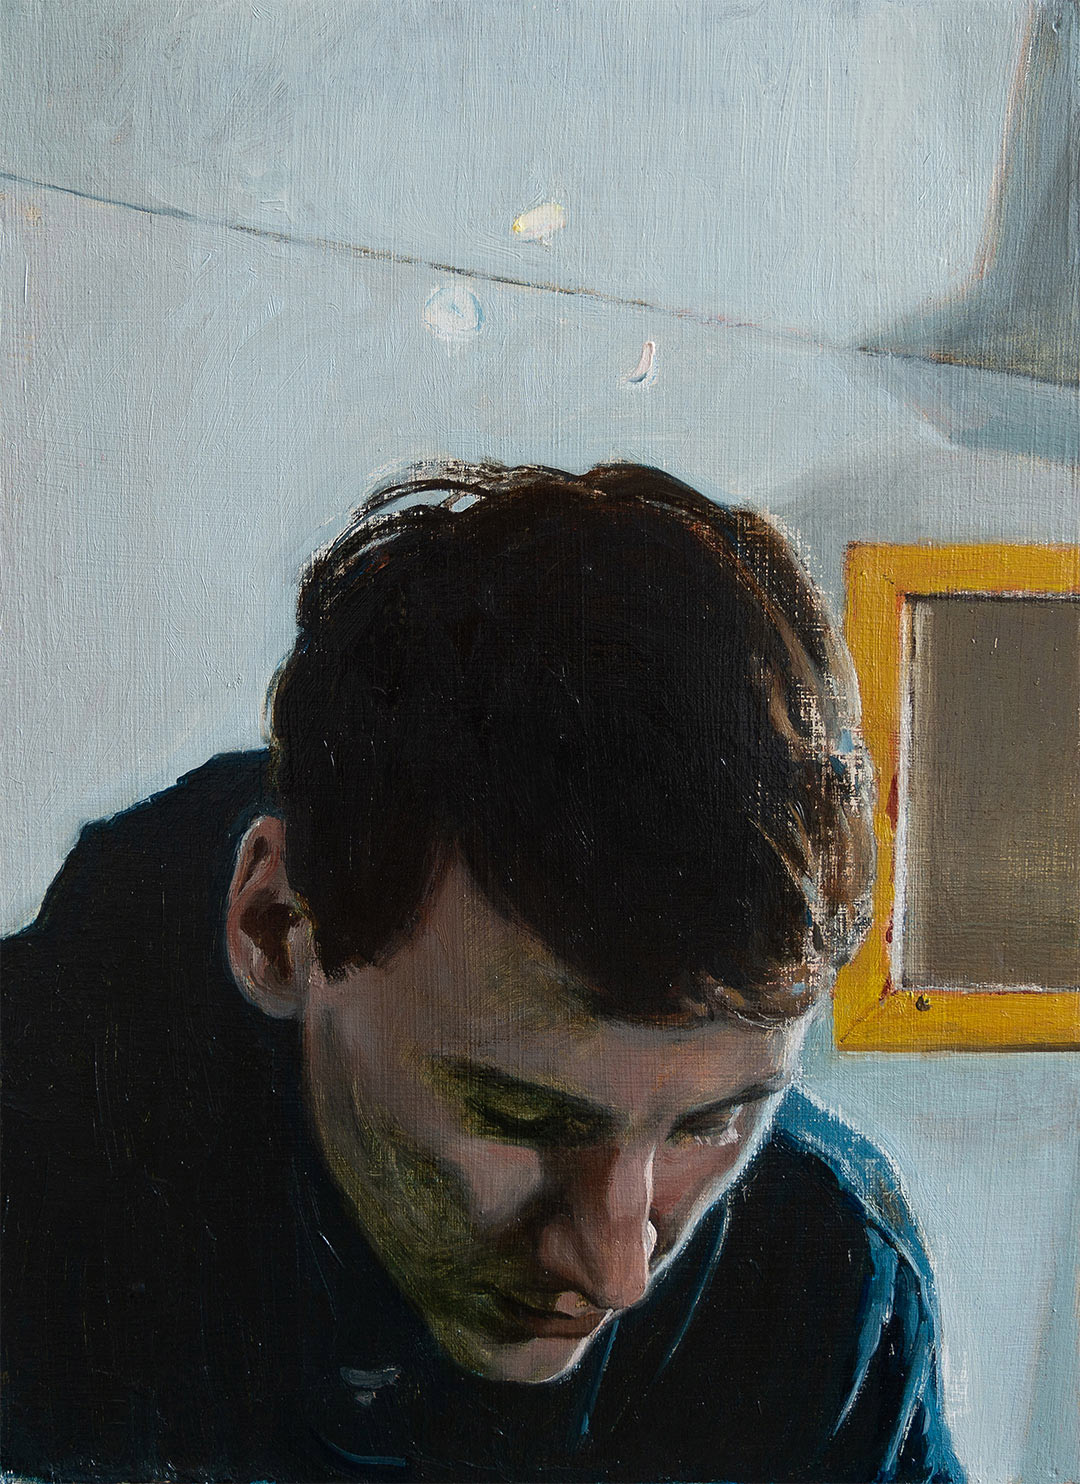
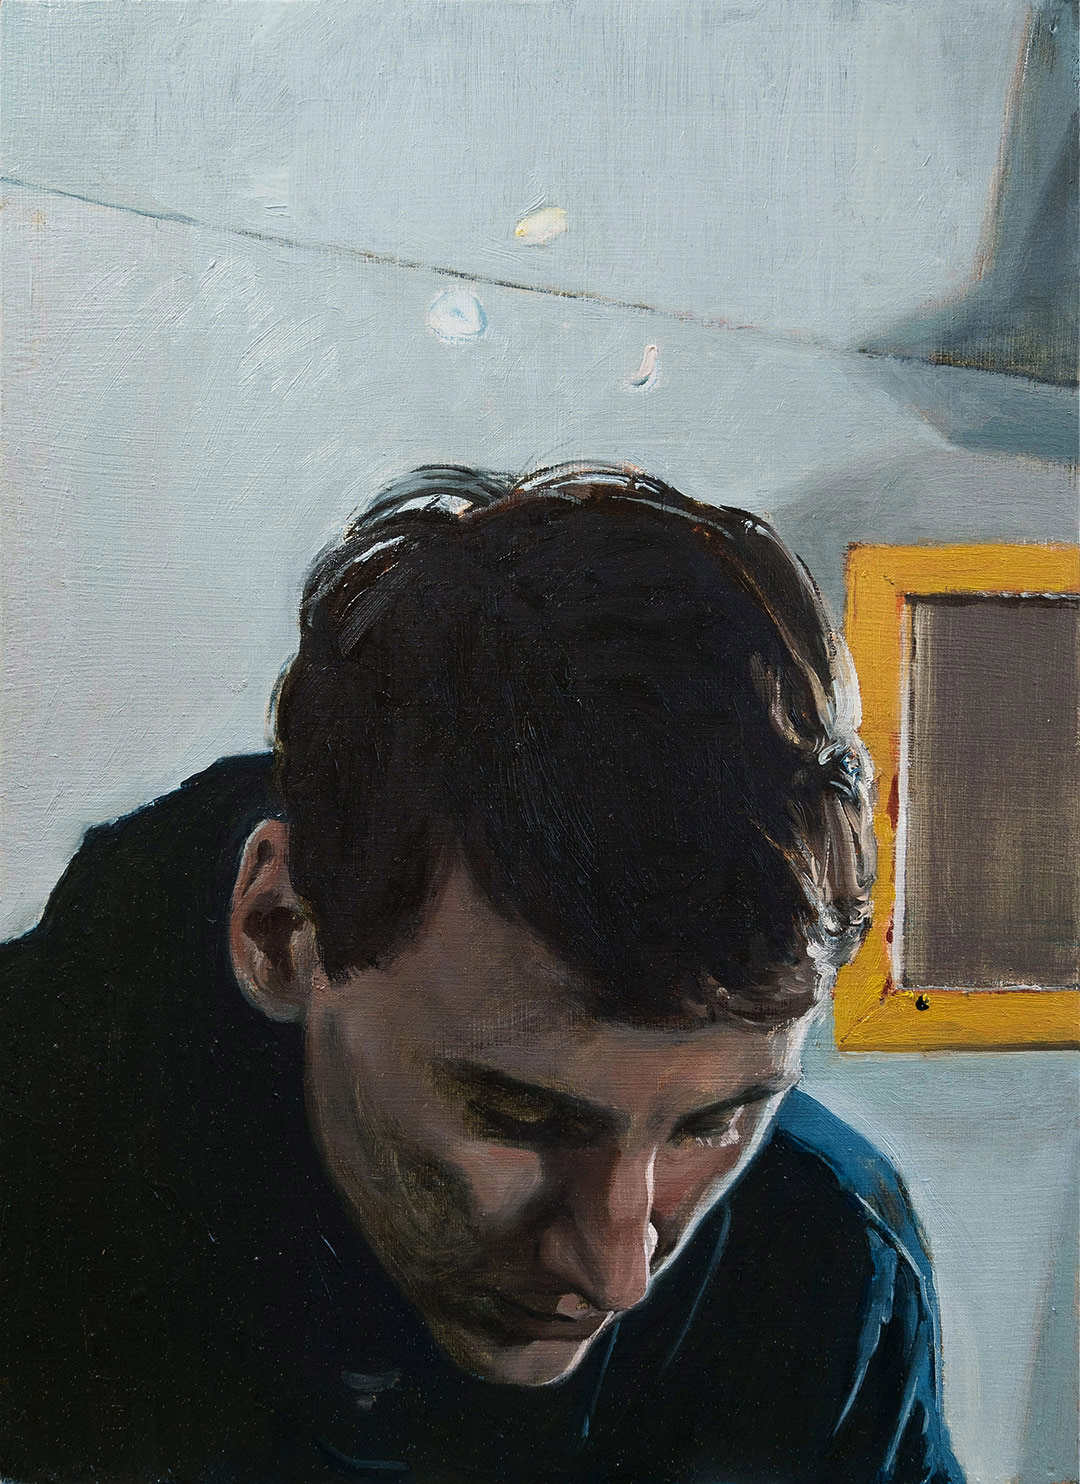
I based this painting on a photo I took of one of my oldest friends when we were on an ice fishing trip together a whiles back. I thought that it captured a side of him really well and I wanted to try my best in painting a very specific feeling that’s hard to put into words. A lot of what I choose to paint/draw comes from this same thing. I just want to create images that can successfully invite viewers to spend time in them/with them and be affected by them. There may be deeper personal meanings and intentions but I don’t really care to share them and I don’t believe that these are important to my goal of eliciting some sort of emotion and surprise in the viewer.
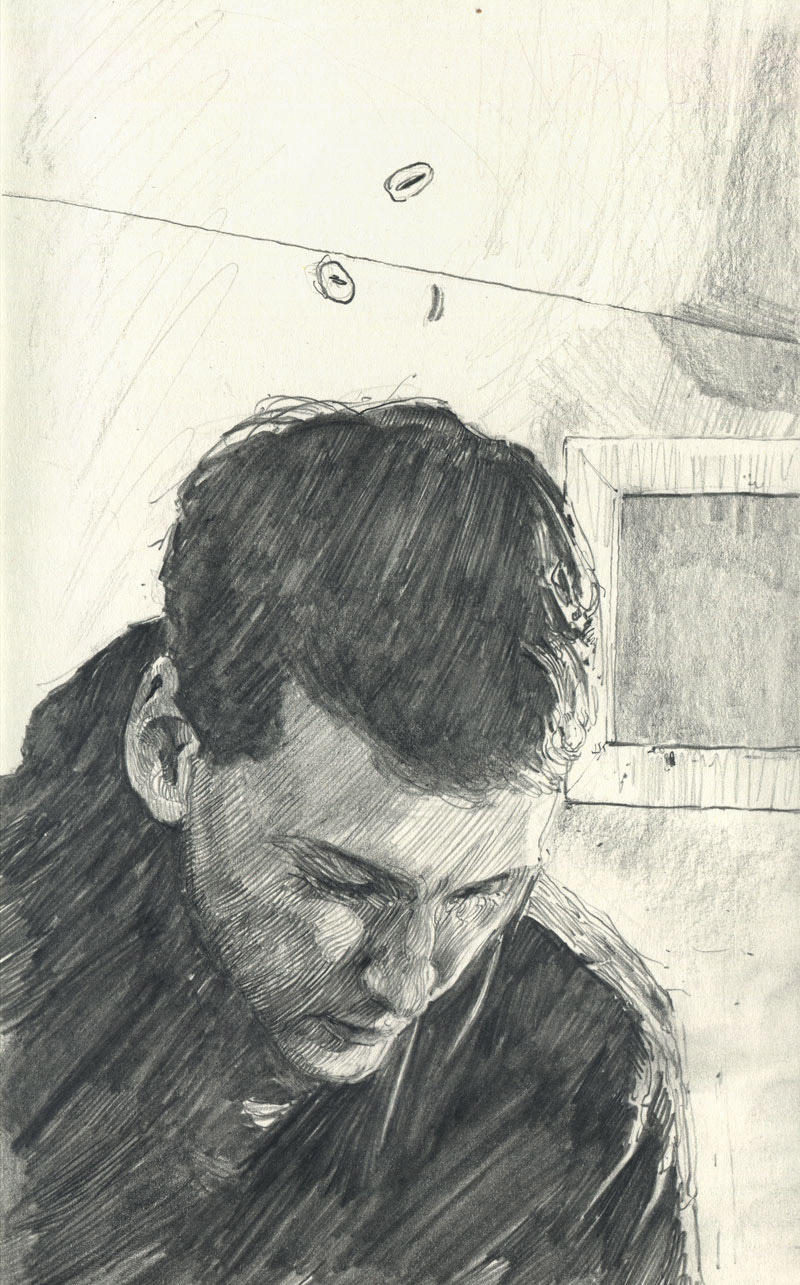
This was an initial pencil study I did at about half the size of the painting. This was about spending some time trying to figure out the light, composition, and overall feel that I wanted without feeling like I’m pressured to make something final. You can see that the likeness is pretty off.
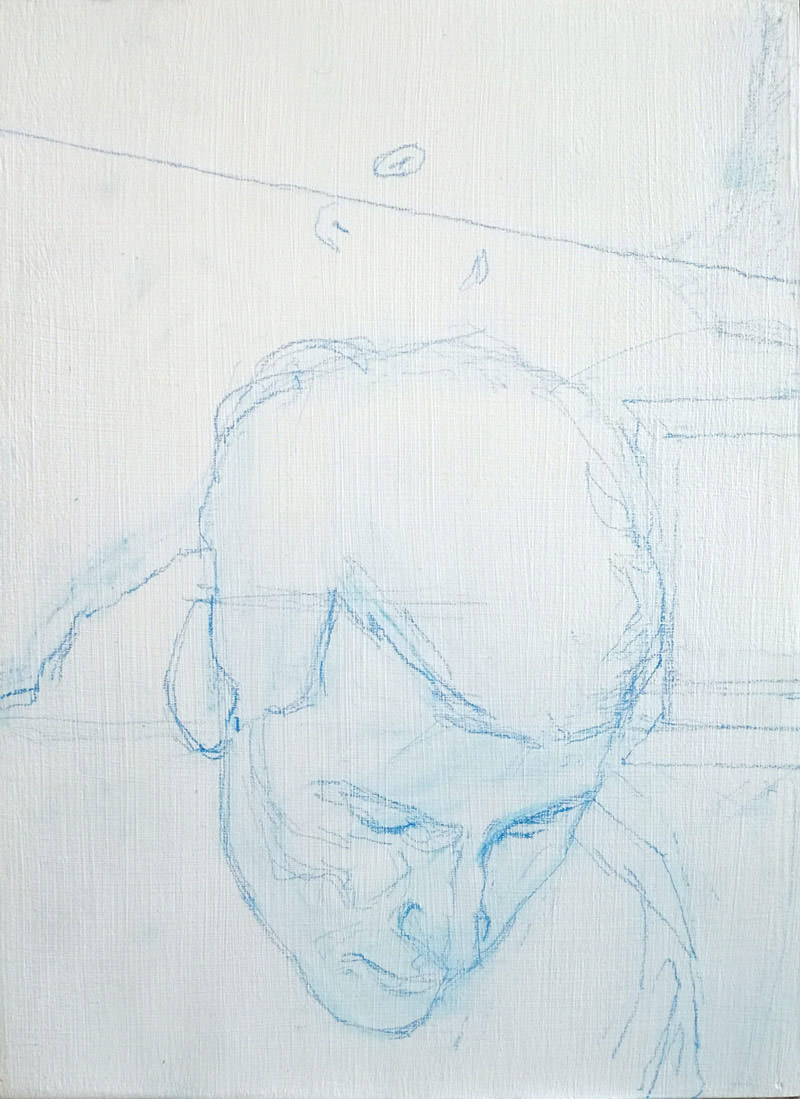
I prepped an 8″x11″ birch panel with a few layers of acrylic gesso. Sometimes I like to alternate the direction I apply each layer so I end up with a crosshatched texture similar to canvas (this decision gave me such a good surprise later on). Acrylic gesso sucks the oil out of your paint like crazy, so you end up with a really “sunken in”, matte finish. I thought this might be a good look for this image and wanted to try it out. I drew out the main contours in pencil crayon, revising it a few times until I was happy with likeness and composition. I also like to map out blocks of shadow and light, which you can see in the face. Unlike pencil, pencil crayon is soluble with oil solvents and is much harder to accidentally rub out than wet oil paint, which is why I prefer it for underdrawings.
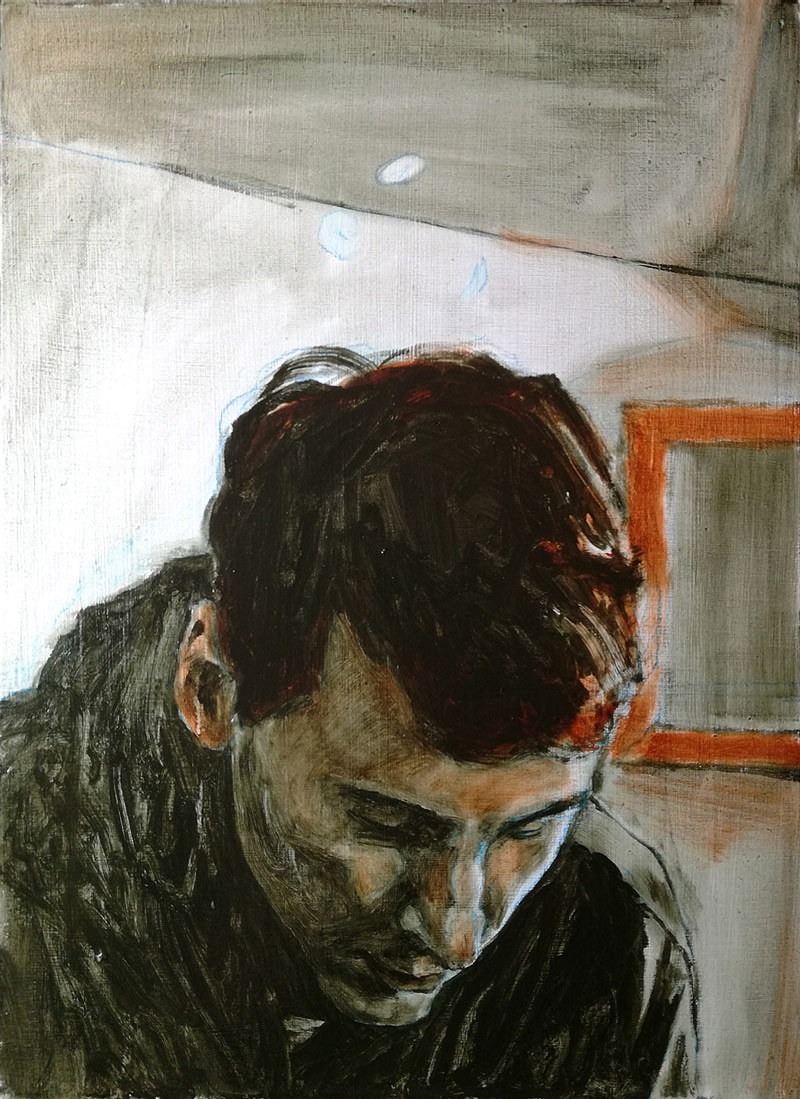
For underpaintings, I think about the main areas of light and shadow and their temperatures. There’s areas of warm and cool here that I really wanted to separate and interplay. I used burnt sienna (semi-transparent warm orangey brown) as a dark/mid tone for warm spots on the painting like in the hair, ear, and face. For the first time, I tried using a “mud” mixture (see Sean Cheetham) of phthalo blue, burnt umber, and yellow ochre for the darks and everything else. This mix is used throughout the painting process that I think resulted in a more unified, consistent look. I cut the underpainting with quite a bit of stand oil and safflower oil, which increased transparency and revealed a lot of gesture and movement in my marks. I used a shitty hog hair brush to scumble out highlights and blend major value transitions.
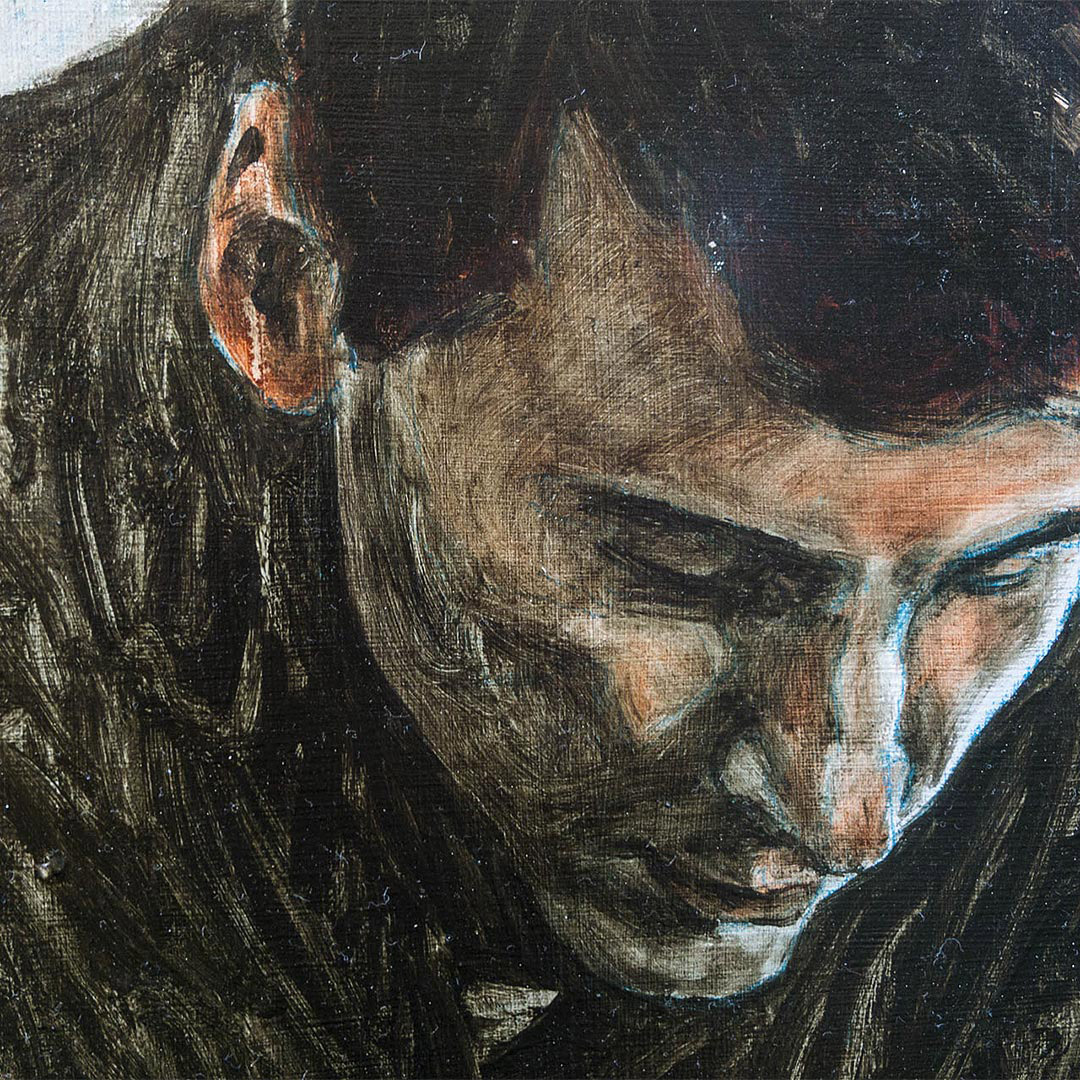
Painting! I think I got into the zone here and banged it out in just one or two sessions wet-on-wet. There was this beautiful green glow that came from the fishing hole under the ice that lit our shadows with a green tint. One of the main things I wanted to do was have the cool poo green underpainting show through for this. By the time I got to the hair, I was really tired and got impatient and sloppy; my palette was a mess and my decision making was terrible and I remember swearing a lot. You can see a lot of muddy areas and stuff that just doesn’t look too great.
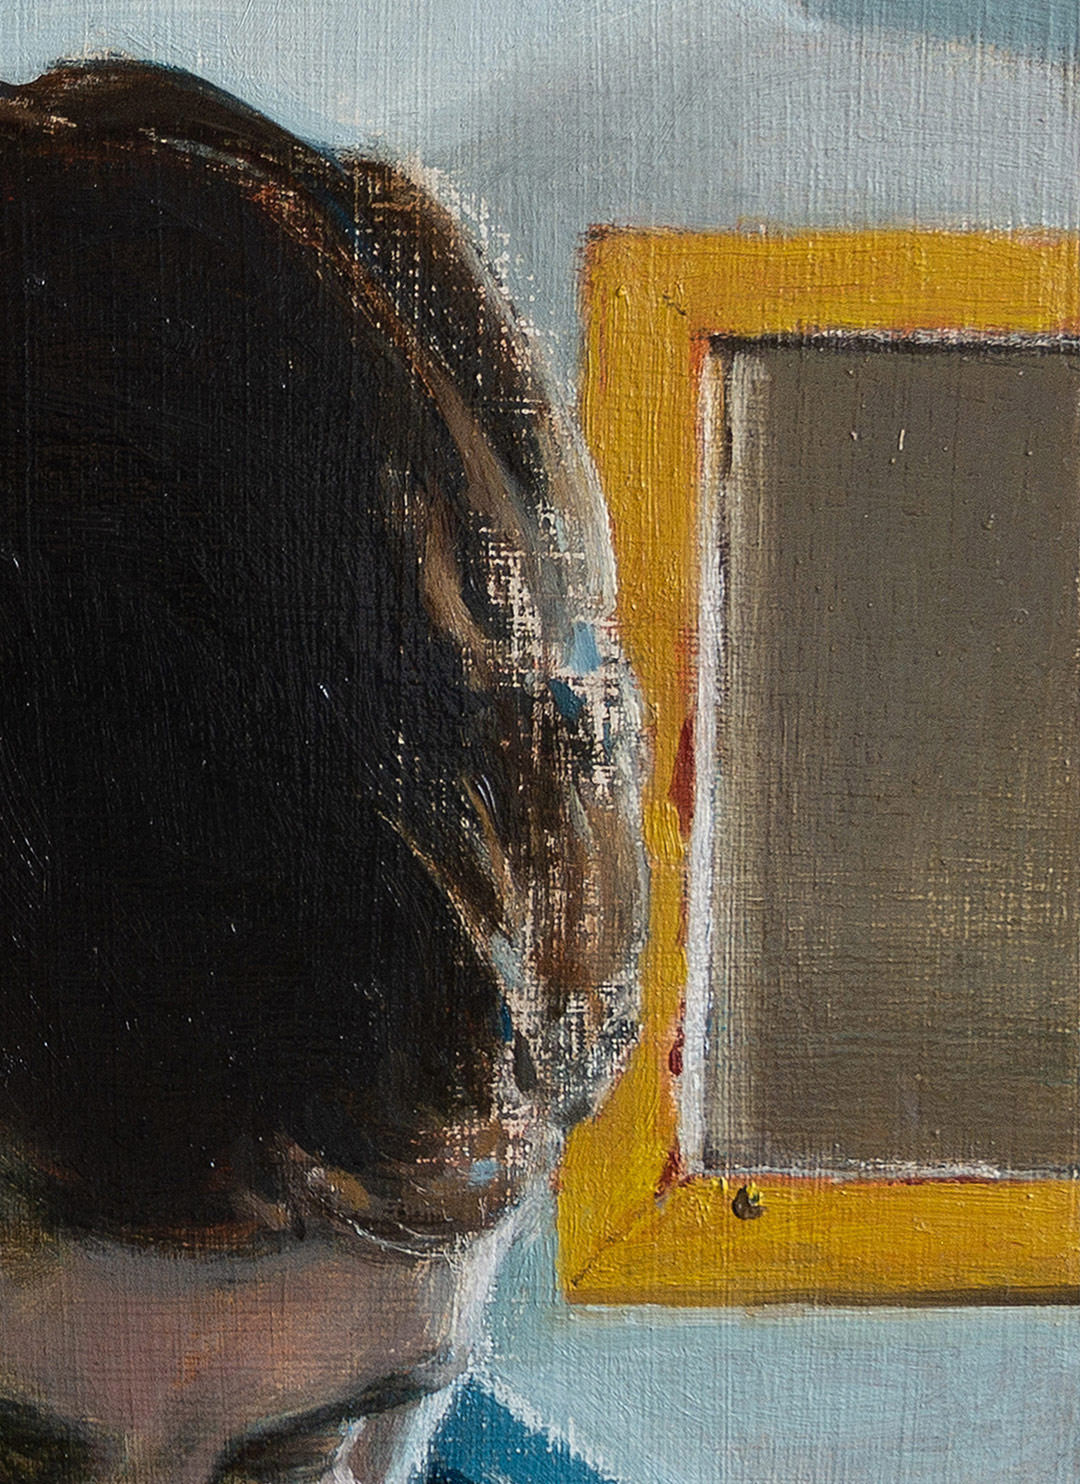
I think there was more good stuff happening than bad so instead of repainting it, I decided to sand out the areas that I wasn’t happy with. And when I did, I found myself with this crazy nice, sparkly looking white texture in the hair that I absolutely loved. This was a total surprise and I live for shit like this. The rest was fairly easy; I was careful with my colour choices and decisions here and just touched it back up. I went at the other existing highlights with sandpaper and scratched some stuff out for consistency in texture. And finally I glazed in the green underpainting shadows just to boost the saturation a bit.
I’m fairly new to painting and mostly don’t know what I’m doing so I like to document my process step-by-step to try and remember what went wrong or right. I’ve found this to be super helpful. I usually go into something with specific ideas in mind for how I want to execute things, so I’ll write these down to give me something to work off of. I don’t always follow through, and my best work tends to arrive from an organic, intuitive process, but having a few parametres and habits set helps me get started from a daunting blank canvas.

A Letter From the Founder: Introducing Booooooom Studio
Making the work we’ve already been doing more official and, ideally, get a lot more of you involved.
Learn More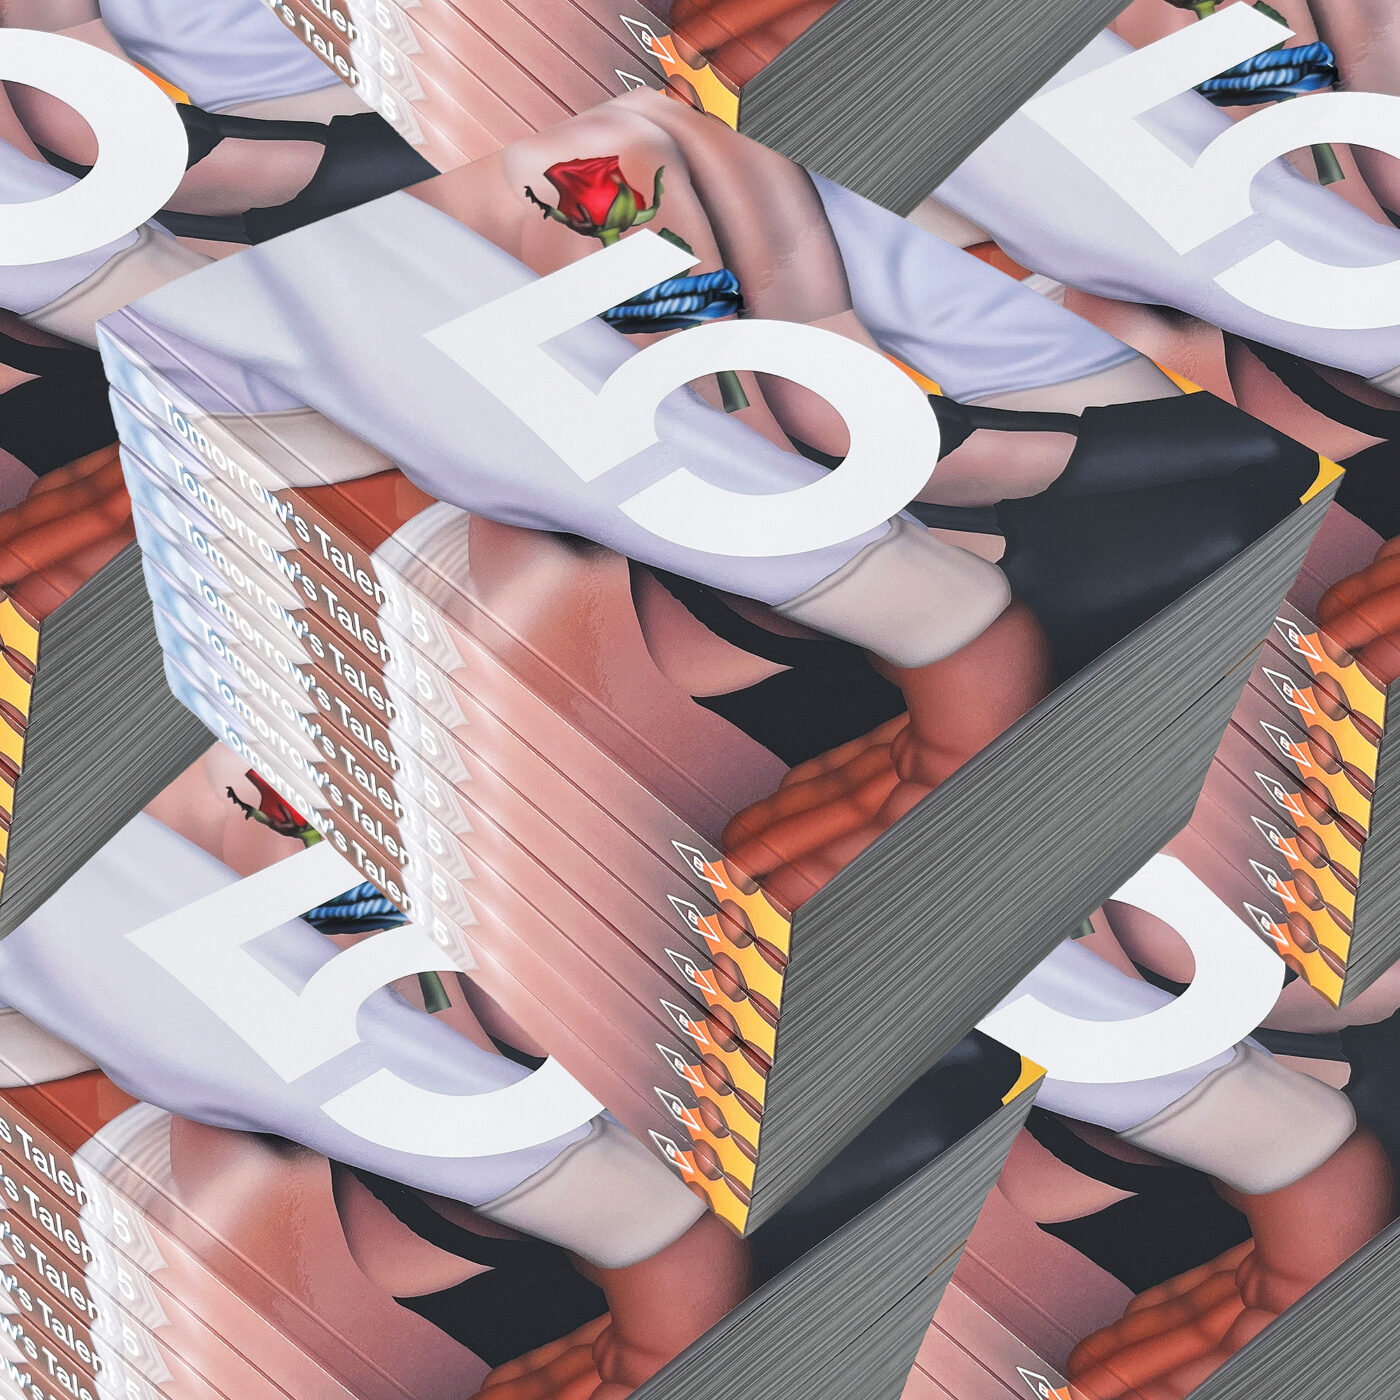
Tomorrow’s Talent 5 Book
This collection brings together work from 60+ artists and is also our biggest volume yet: 276 pages, and for the first time, in a larger format.
Booooooom Shop
Join our Secret Email Club
Our weekly newsletter filled with interesting links, open call announcements, and a whole lot of stuff that we don’t post on Booooooom! You might like it!
Sign UpRelated Articles
